Build a personal website by Hugo
Last Edit: 1/19/25
简介 #

- Hugo是一个基于Go语言的Github开源项目,其支持Markdown语法并可以托管到Github Pages上
环境准备 #
- Git
- https://git-scm.com/
- Go语言的安装
- https://go.dev/doc/install
- Scoop下载
- https://scoop.sh
创建项目 #
- 在配置完了环境后,在终端通过Scoop安装Hugo文件
scoop install hugo-extended
- 之后在准备好的项目路径下通过hugo指令直接创建项目文件
hugo new site {{这里填你的文件名}}
- 之后提示Congratulation后,cd进入文件下下尝试启动hugo
hugo server
- 如果输出为
- Web Server is available at http://localhost:1313/ (bind address 127.0.0.1)
- Press Ctrl+C to stop
- 则说明项目已被成功部署,打开链接可以看到以下界面
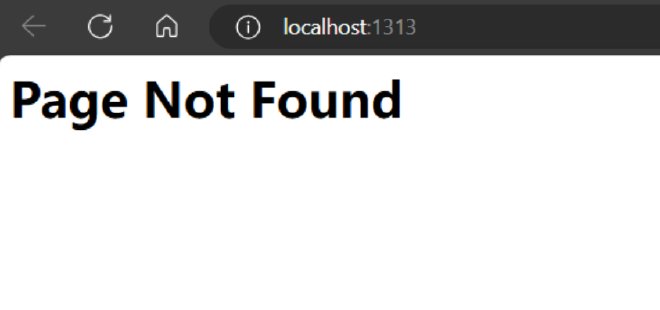
显示Page Not Found是正确的
- 之后建议Ctrl + C退出后台
安装主题 #
- Hugo项目可以通过安装他人准备好的Theme主题来达到轻松的美化效果
- Hugo主页上列出了很多个主题,可以任意选择一个喜欢的
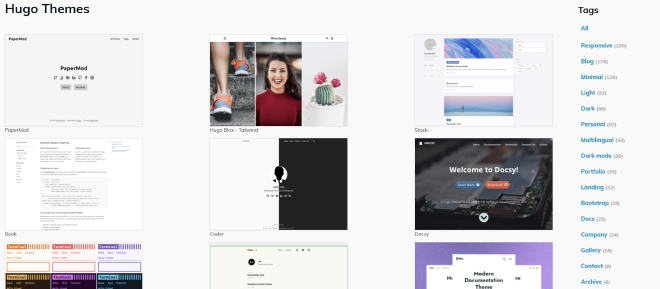
-
这里将以Blowfish作为示范,以下是其Github仓库链接
-
更具教程,使用git submodule安装主题
-
需要注意的是先要
git init,之后在hugo文件夹下安装
git submodule add -b main https://github.com/nunocoracao/blowfish.git themes/blowfish
- 等待主题安装完毕后,打开hugo文件夹下的hugo.toml文件,添加以下代码
- theme = 'blowfish'
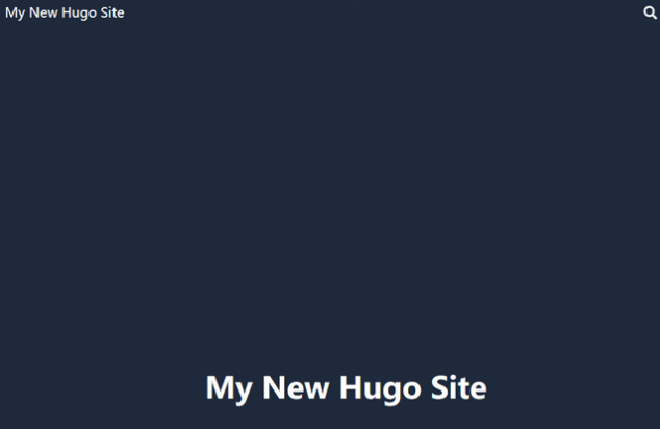
- 保存后再次运行hugo便可以预览到该主题已经被成功安装
主题配置 #
- 建议在添加Markdown文档之前对主题做出如下更改
- 打开\themes\blowfish\config`,并将params.toml更改至如下
[homepage]
layout = "background" # valid options: page, profile, hero, card, background, custom
#homepageImage = "IMAGE.jpg" # used in: hero, and card
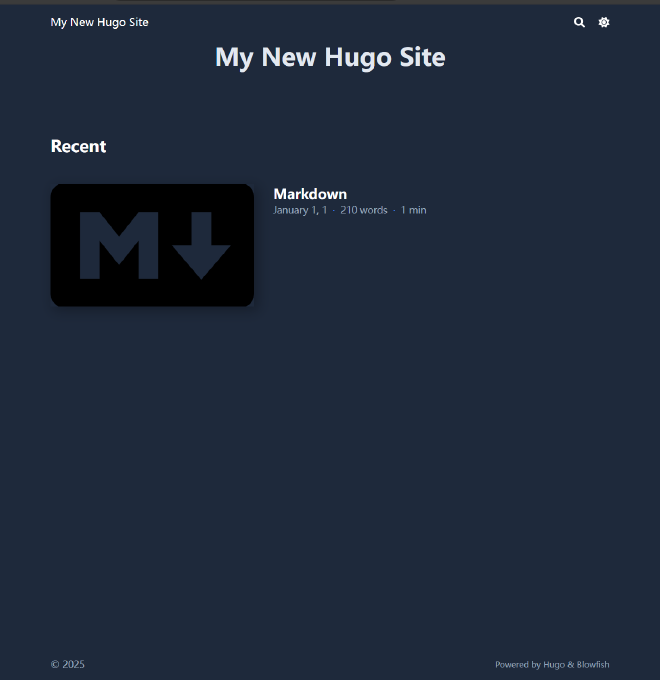
showRecent = true
- 这将打开主页上的最佳文档,可以直接在homepage上浏览到最近添加的文档
创建文章 #
- 打开Content文件夹,在里面新建文件夹
- 创建
_index.md并写入以下代码
---
title: "Docs"
description: ""
cascade:
  showDate: true
  showAuthor: false
  invertPagination: true
---
- 关于具体代码的含义,请查看 Documentation · Blowfish文档
- 之后保存文件并且在该文件夹下再次新建文件夹
建议采取一个文件夹一个文章方式,如该文件夹为其他页面的父页面,则命名为
_index.md,如没有子文档,则文档存放markdown命名为index.md
- 之后添加
index.md文件,并写入任意Markdown文章,具体语法可以查看 Markdown Guide
预览 #
- 在想要预览的时候,于终端输入
hugo server
- 打开http://localhost:1313/便可以看到创建出来的文档
上传至Github pages #
- 打开github创建新仓库,创建一个名为{{id}}.github.io的仓库
- 来到hugo文件夹下
hugo
cd .\public\
hugo是令hugo创建准备好的上传的页面,其会被存到public文件夹下,之后cd进入
git init -b main
git remote add origin {{仓库链接}}
- 链接远程git仓库(git设置部分请自行准备)
git add .
git commit -m "init"
git push -u origin main
- 添加文件后push至github等其完成部署之后就能在{{id}}.github.io访问到了